“I have JUST been signed to the *** Talent agency as a voice actor! The amazing part is HE contacted ME! He heard the Promo Demo you created for me and pretty much signed me the next day! So thank you!“
– Kojo
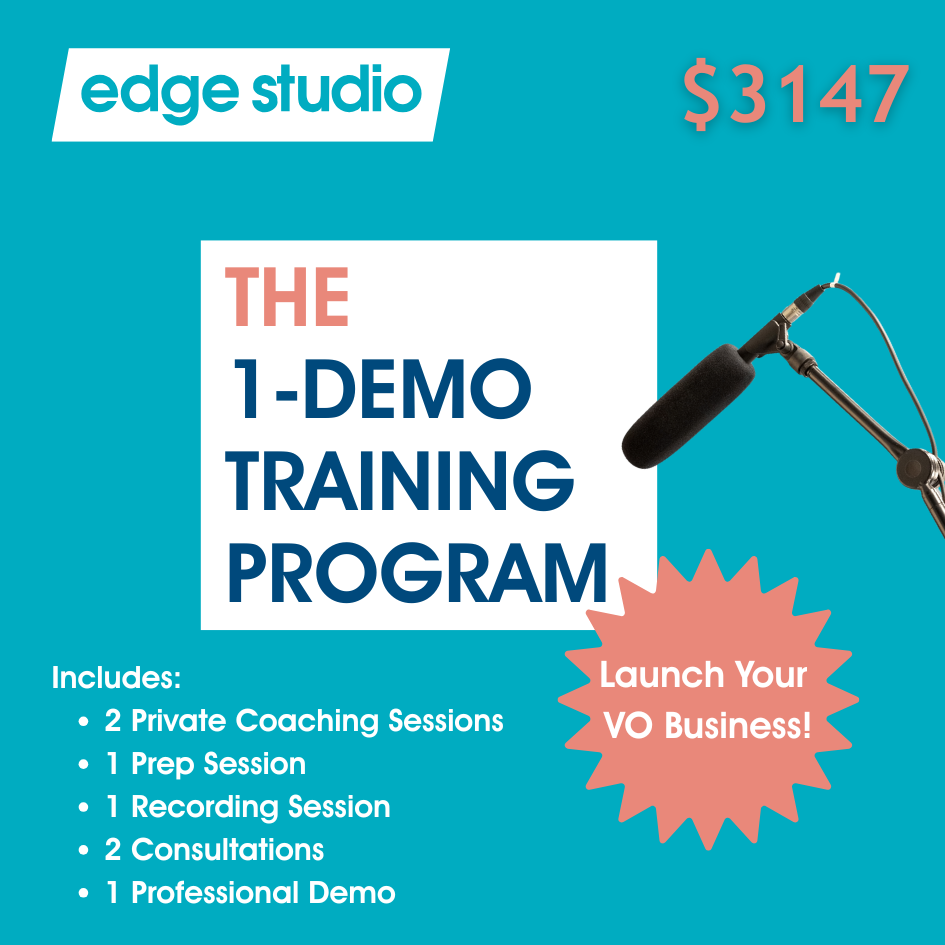
1 Demo Voice Over Training & Demo Program
$3,147.00
-
Get our free newsletter here!
“I truly believe my VO career is ready for a huge leap forward and Edge Studio has been an integral part of this evolution. Let’s do this!!”
– Eric C
Education Roadmap

Education Roadmap
Step 1
Guidance
A planning session with your instructor plus on-going support and advice from our education team pave the road for a smooth, successful program.
Step 2
Technique & Performance Training
Private coaching sessions and free online training resources are the building blocks for your career.
Step 3
Demo Portfolio Development
Create a professional voiceover demo with your coach and our expert engineering team, and be ready to stand out as an experienced, working professional.
Step 4
Launch!
Learn how to use all the tools from your Edge Studio training program to start your voiceover career. And gain new free online tools, too!
Step 5
Continuing Education
After completing your training and demo (or during), you can continue expanding your career with our advanced-level classes, special community events, and much more.
Continuing Education
 Additional Private Coaching
Even the pros know voice over is a lifelong journey. Refine your skills with help from our experts
 Continuing Education Workshops
Special guest instructors lead you on a deep dive in these intensive workshops
 Additional Demo Production
Expand your portfolio and become a more competitive voice talent with additional demos
 Special Event Classes and Webinars
Free in-studio and online events available to support the voice over community
